VPN for Windows
Introduction
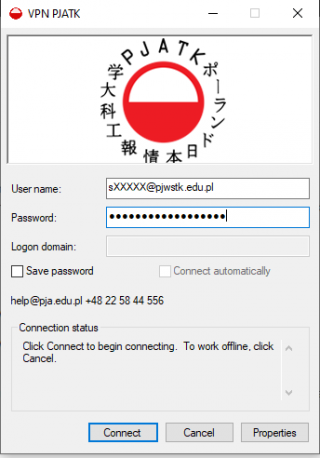
To access university resources from home, you need to configure a VPN connection. We recommend using the automatic configuration.
Automatic Configuration
Download and run the installer for your system version. It will automatically configure the connection and certificates.
Manual Configuration
Note
Use manual configuration only if the automatic installer fails or if you prefer to configure settings yourself.
Update System settings
- Open Settings (
Windows + I). - Go to Network & Internet > VPN.
- Click Add a VPN connection.
Add Connection
Fill in the connection details:
| Field | Value |
|---|---|
| VPN provider | Windows (built-in) |
| Connection name | PJATK VPN |
| Server name | vpn.pjwstk.edu.pl |
| VPN type | SSTP (Secure Socket Tunneling Protocol) |
| Type of sign-in info | User name and password |
| User name | sXXXXXX@pjwstk.edu.pl |
| Password | Your password |

Configure IP Settings
To prevent losing internet access when connected:
- Open Control Panel > Network and Sharing Center.
- Click Change adapter settings.
- Right-click PJATK VPN > Properties.
- Go to Networking tab > Select IPv4 > Properties.
- Click Advanced.
- Uncheck:
Use default gateway on remote network.

Connect
- Go back to VPN Settings.
- Select PJATK VPN and click Connect.
Network Drives
If automatic mapping fails, map drives manually using these paths:
Replace
LOGINwith your student username.
Troubleshooting
Common VPN Issues
- Internet: Ensure you have an active connection.
- Credentials: Verify username (email format) and password.
- Updates: Install pending Windows updates.
- Firewall: Check if security software is blocking VPN.
- Conflicts: Remove other VPN profiles.