OneDrive File Sharing
Logging into OneDrive
- Go to the website o365.pjwstk.edu.pl
- Log in with your sXXXXX account

- Select OneDrive from the list of applications

Creating a folder for your work
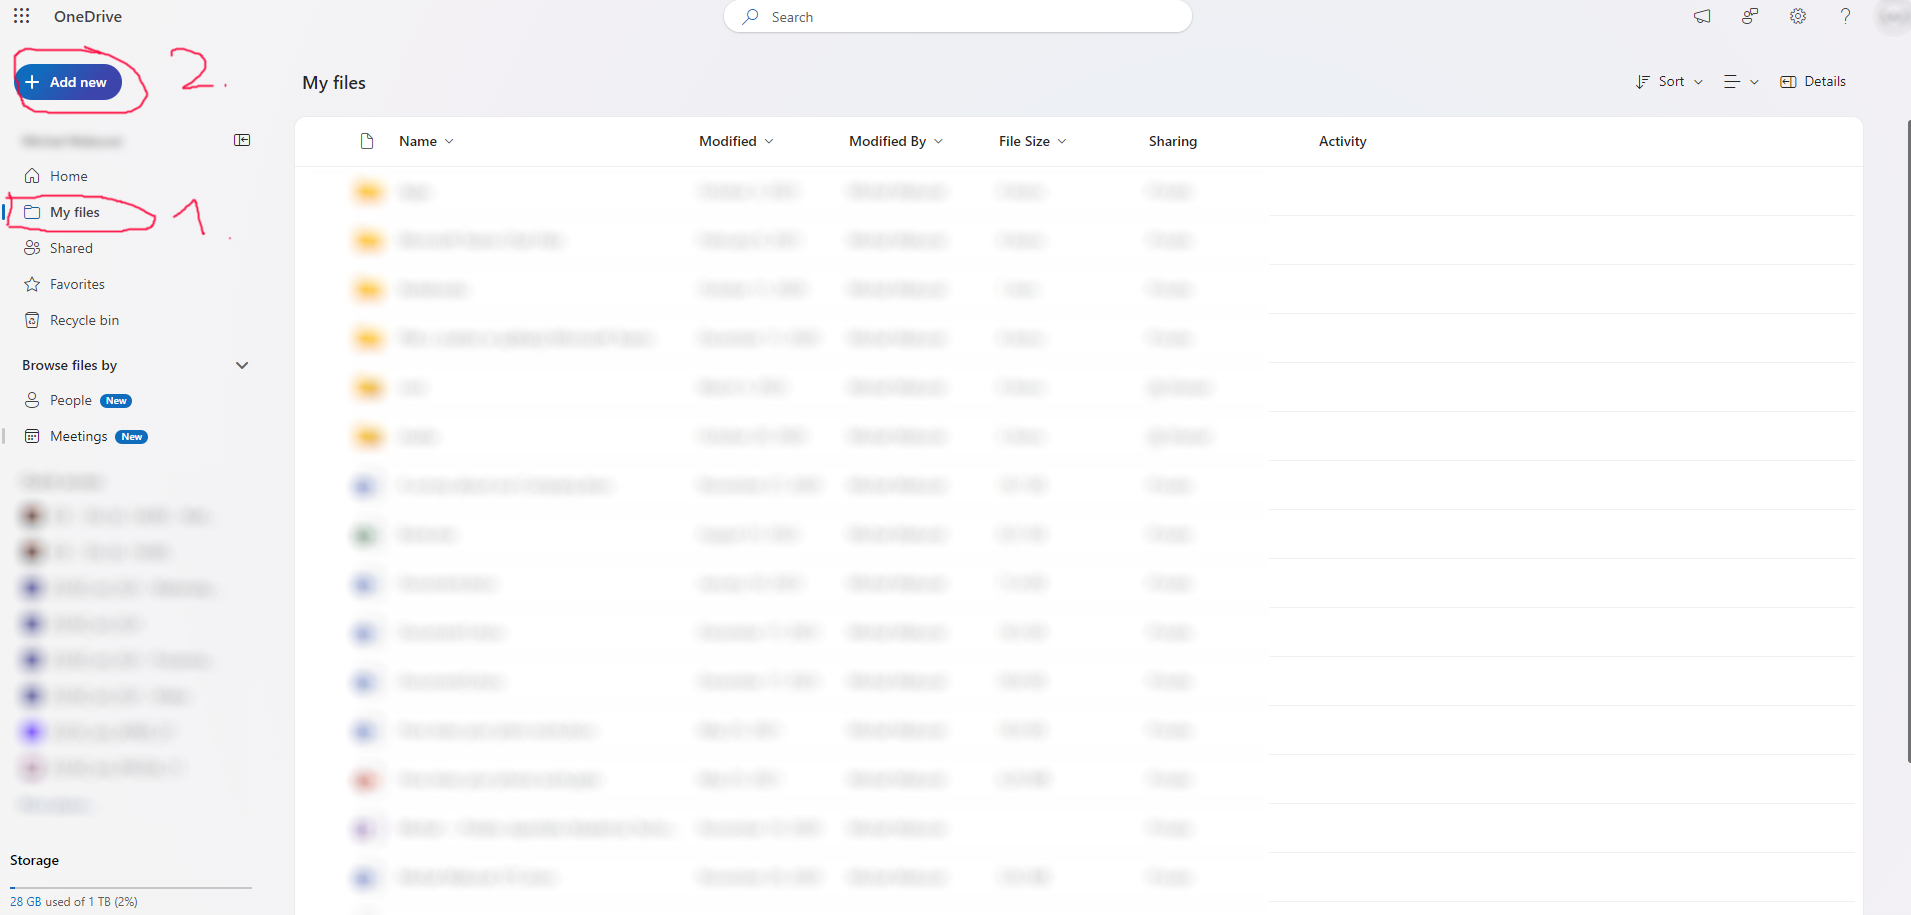
- Select the “My files” tab
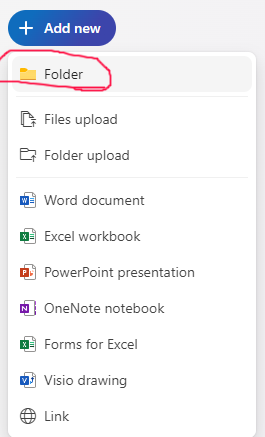
- Press the “+ Add new” button
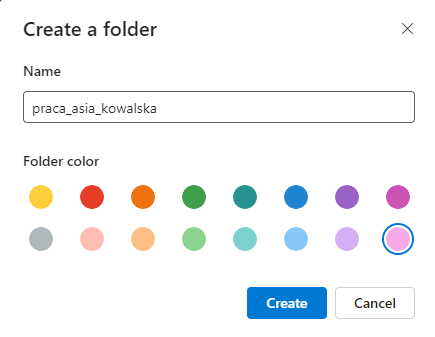
- Choose “New folder” and give it a name
Sharing the folder with your lecturer
- Hover over your new folder until the “3 dots” menu appears
- Click the “3 dots” and select the “Share” option
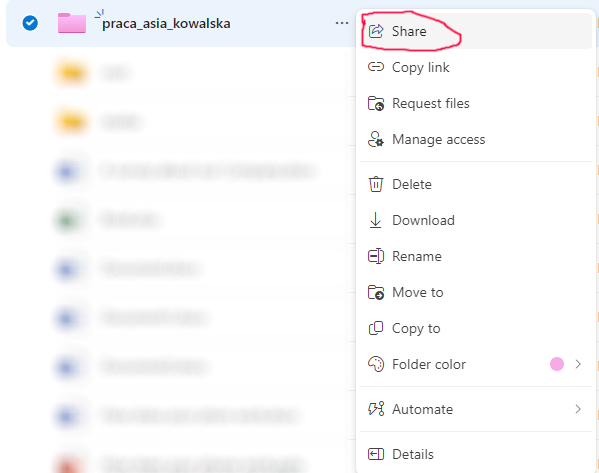
- Press the “gear icon” to access sharing settings

- Select the “People you choose” option
- Change the default “Can view” option to “Can edit” if you want to allow the recipient to modify the folder’s contents (add, delete, or modify files)
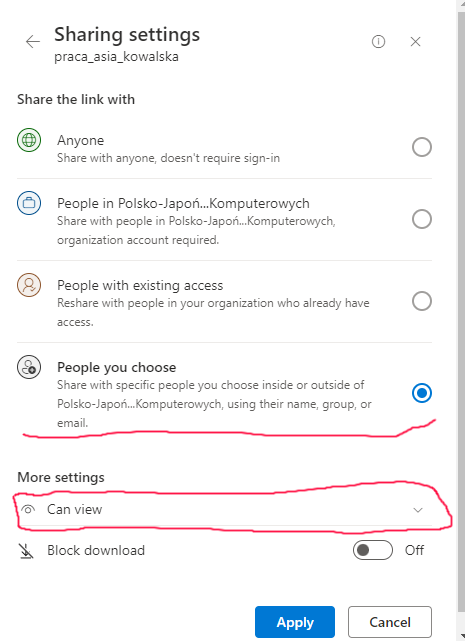
- Click “Apply”
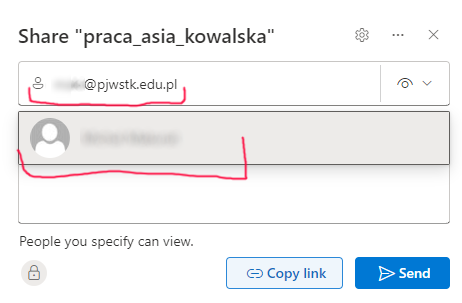
- Enter the lecturer’s complete email address in the top field
- OneDrive should suggest the user when you type
Important: Click on the suggested user name - do not leave the email as plain text or you will get an error.
- Click “Copy link” to get a shareable link that grants access to all files in your shared folder
Example of a correctly copied link:
https://pejot-my.sharepoint.com/:f:/g/personal/sXXXXX_pjwstk_edu_pl/EsdaaGHr_xxxxxxxxxxxxxxx-xxxxxxxxxxxxxxx?e=999933Adding files to the shared folder
Option 1: Drag and Drop Simply drag files from your computer directly into the browser window
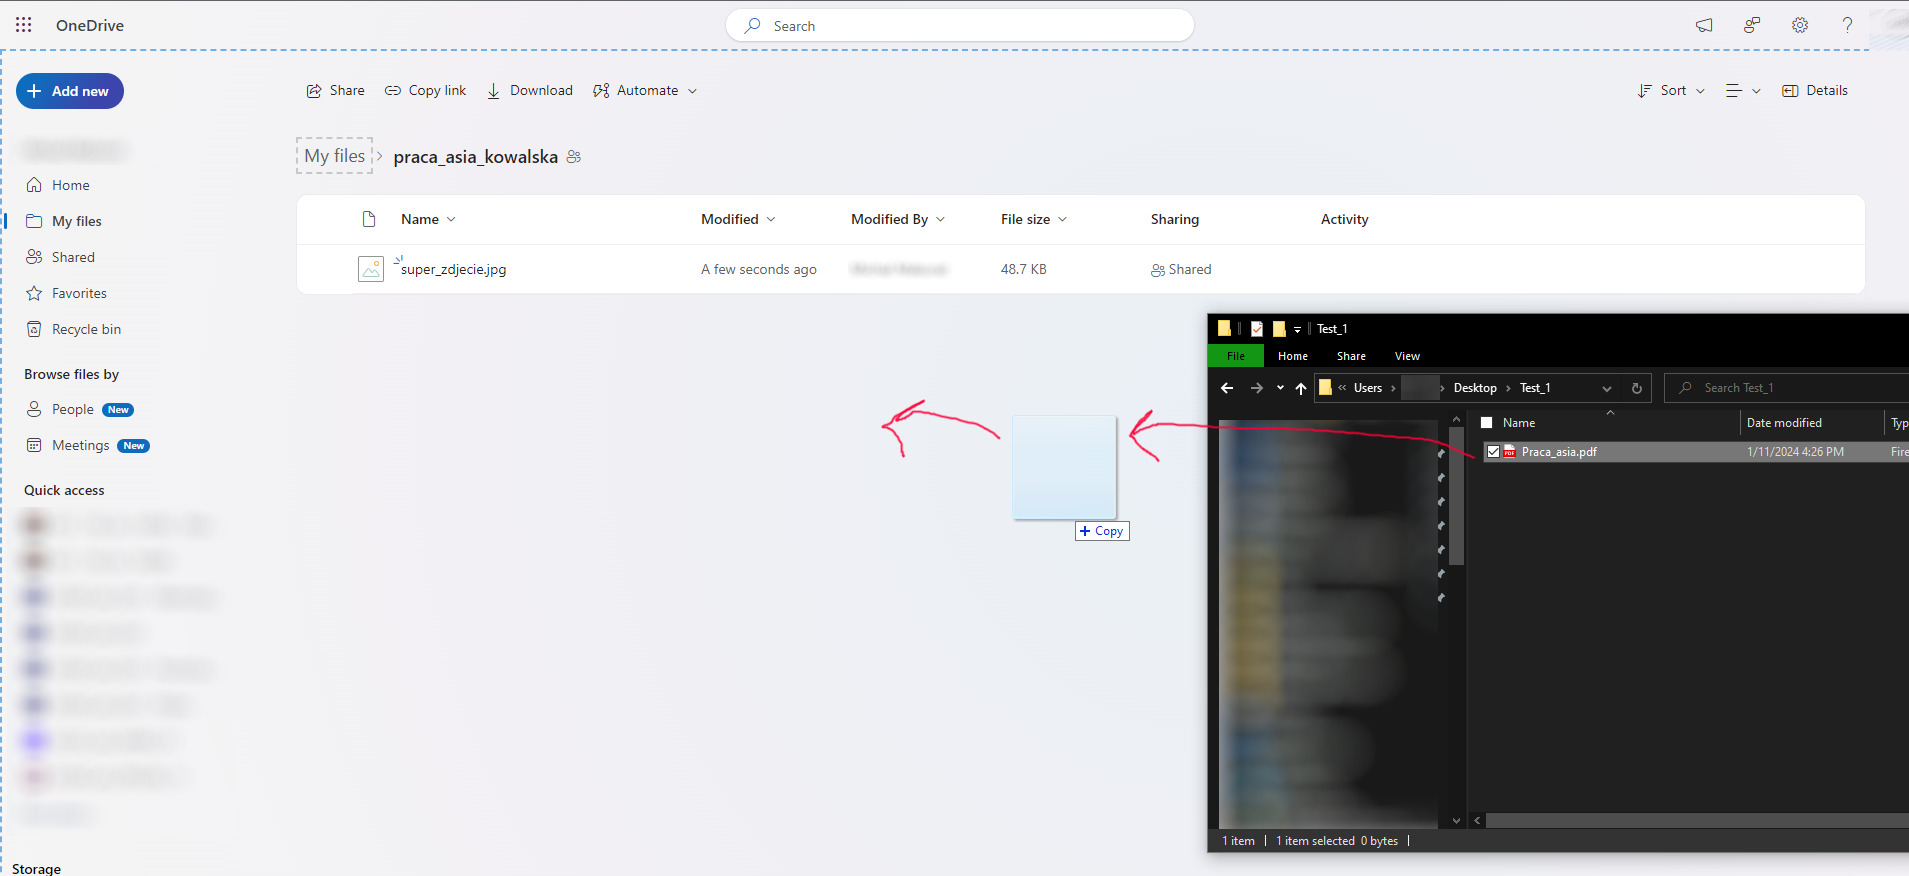
Option 2: Upload button
- Navigate to your shared folder
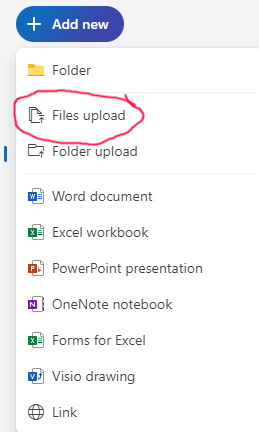
- Click “Add new”
- Select “Files Upload”